Showing posts with label Beads. Show all posts

Thursday, 8 October 2015

Christmas Items!

Good evening all,

I have been working hard, in preparation for my three days fair this weekend (details later), and I wanted to show you a few new makes. First up:


Click the photos to make them bigger


These are my Christmas Notice Boards! They are made using circles of cork, covered carefully using fabulous Christmas materials then 'hooked' and 'backed' ready for use. They look great against a wall and would make a lovely addition to your kitchen or lounge over the festive season. They could also be used as place mats if you like...

Next up:


The picture may not do it justice as it was later in the day that I took the photo, but it is another design in my line of Christmas mugs! This has a line running around the base of the mug with mini pictures of items relating to the festive season. I think it's really cute, what do you think? Just imagine it filled with steaming hot chocolate, topped with mini marshmallows. Mmm...

Thirds:


This is a new style of Freehand Machine Embroidery (FME) cards in a Christmas design - I also have stockings, puddings, stars and baubles on the go, but they will come when there are 25 hours in a day! This is a batch of FME Christmas Tree cards that I enjoyed making, in a rustic, country feel and I would love to receive one of these myself! An advantage of purchasing or receiving one of these cards is that they can be framed afterwards as they are little pieces of art...

And finally for today, a little teaser...


Not exactly on the Christmas theme, but these Button and Bead Earrings would make a lovely Christmas gift. I tried them as a little experiment and I actually quite like them and boy, the more I think about them, the more kinds I am thinking of making! As they say, watch this space :)

And as mentioned earlier, I am at the Bakewell Town Hall, this Saturday to Monday at a Craft & Gift Fair and it would be great if you could pop along and say hi. Now we are getting closer to Christmas, items listed here will be available (while stocks last) and there promises to be some great stalls with fab items, so go on, shop different this year, shop local, shop hand made and support the smaller businesses.

Thanks for reading, leave a comment if you wish or 'pass me on'.

Julie.
(C) FMN Crafts 2015

Sunday, 11 January 2015

Story Time...

Good evening all, for this blog I thought I would tell you a story. A story about how the Headstone Viaduct at Monsal Head, Derbyshire was made... Are you sitting comfortably? Then I shall begin...

Firstly, (ok, not firstly but you'll see what I mean...) the Viaduct was built (!) This has to be one of the most photographed spots in all of the Peak District and it is absoultely one of me and my husband's favourite places, and so I set myself the challenge of sewing it..!

Photograph on my screen

So I began by working out how to tranfer a photograph into a piece of sewn art. I made a dawing based on the photo's key points, with the viaduct obviously being my biggest point and in the middle and then drew over each section with a Sharpie. I gave them all numbers and then traced each section, with overflows around some of their edges onto tracing paper, which I numbered to match. I then transferred them onto plain paper which I also numbered and cut them all out. As you can imagine, this took a while!


Next I had to plan how I was going to lay the pieces out, not only for the 3D effect or at least perspective of distance & realism, but also because once you sew one piece on, it's on! You can't lift it back off like you can paper...! Once I was satisfied I wrote 'in order' list so I wouldn't forget. Oh yes, I also chose a piece of denim for the background too which would turn out to be the sky.


Then came the choices of materials. Oh boy, this took ages too. I wanted really mixed media including chains, felt, maybe cotton wool and alsorts but they just didn't work. So I ended up with mostly cotton but there was some linen, poly-cotton and bias binding thrown in. Beads came later... I had to remember, when using the paper pieces as guides, to turn them over as well as drawing around them onto the back of the materials. (I didn't always remember and had to re-do two pieces!) #human Getting tired...


Time for a break; time for a Kit-Kat! (And a coffee.)


Back to work. I next had to interface each individual (flippin') piece as not only does it make it sturdy and durable, but it's so much easy to sew through, particularly when using the technique you'll see in a moment. 


And then I had to lay them all down again, in the order I stated on the list, trying to keep to the same areas as before, making sure some sky would show and that it would fit in a conventional size frame...who's idea was this anyway??


You get to see the picture coming through a bit now though don't you? Next was the most patience-testing to date as I had to adhere each piece to either the one behind it or to the background piece, using Bonda-web (which is great) but it meant lifting each piece a little to slide the Bonda-web underneath and press, without moving the other pieces. Grr. But it's a good 'grr' as I'm almost ready to sew! Here it is looking all neat and ready.


And so I sew! This picture shows the first stitch about to begin. I am using my Christmas present from my wonderful husband, a Janome Sewist sewing machine that I love, and I am using a Freehand Machine Embroidery technique with a machine embroidery foot and the feed dogs dropped. I'm not using an embroidery ring as personally I find them too clumsy on a larger project. I sewed and sewed and sewed some more...


...until I thought it was mostly done. But there was something bugging me and I worked out that the large section of trees and bushes on the right hand side of the viaduct just wasn't right (look at it, two pictures above), so I had a battle with unpicking and peeling off Bonda-web. (Did I say that stuff is good? Well, yes, that and interfacing mixed makes for sturdy stuff, that funnily enough, does not like being removed!) So here you see an altered state with many smaller and more defined trees and bushes, all individually shaped, interfaced and (bloody) Bonda-webbed down, plus a slight change in the two right hand fields too..! Then it was sewn again... :)


Like sew so.

This picture shows it nearly finished and I think it's a great picture because it's really like looking at the photo now! Only in some arty psychadelic way that I just love... Can you see the foot paths in various places? And the ripples on the river? The viaduct is not quite right though...hmm.


We'll have a look in a moment but first let me show you a few details in the trees...


And the foreground flowers with beads, each individually sewn on...


These too...


And then onto the viaduct. I decided it was missing the railings that run along each edge of the viaduct and so I added some embroidery threads and made details with single thread by hand. Guess what? This took a while! (Thick fabric - sore fingers).

(See the needle?)

 And now we are so close to it being completed!


But the viaduct still needed something, afterall, it is the focal point... Shadow! I took it back to the machine and added in the shading, still using the same technique as the rest.


It is complete! WOW!! And as you know, all artists do/should sign their work and so you can see my initials at the base... J.S.


This is it still in it's raw state but completed:


 And this is an 'artist's impression' of what it will look like once it is framed. (Not exact colours).


So this is the story of how the Headstone Viaduct was built, in a way you will never have heard before. I hope you liked it. Oh, and by the way, from start to finish, it took 4 whole days. :) Thank you so much for reading, please share, Like me on Facebook if you wish, follow me on Twitter or leave a comment below -  I'd love to know what you think!

The End.

(It will be framed and then taken to a craft fair, I think, that's if I don't keep it myself!)

Goodnight, Julie.

EDIT: It is now framed! I had to add a couple of extras to finalise/enhance the spectacular piece but here it is complete in it's deep frame:


(C) FMN Crafts 2015

Wednesday, 1 October 2014

I have been busy!

Evening all...

I have been busy! Apart from exhibiting at a billion fairs recently, most of which I forgot to advertise on Facebook but there you go, I have been working really hard thinking up, designing and making the following items, I hope you like them:


Christmas Reindeer Cushion

Yes, I know, but it is only 81 (ish) days away! ARGH! Sorry. Anyway... I haven't made cushions before and so I thought I'd just experiment a little and I am really happy with the result! The material is cream cotton and the decoration is made of felt, beads and gold thread but the best bit is that it is made using freehand machine embroidery. I am really into that at the moment...more in a future blog.

Next up:

Hand Made Lavender Bags

As the title suggest, hand made lavender bags! These are made of a satin/silk material and filled with French lavender heads and closed with a beautiful lavender coloured ribbon. These are a true classic and always sell well at the fairs.


Pink Heart Divided Purse

Strawberries Divided Purse

Yet again the titles should say it all but to add to that, they have cute little aplique felt pictures on the front, they each have seperate pockets that fit cards and cash as well as mobile phones and so they are pretty, versatile and durable. Plus with an added keyring they are even more inviting.

And next we have...:

The Reversible Mini Shopping Bag

This is such a cute little bag that is made of strong canvas materials that has no pockets or closures that get in the way making it perfect for reversing. I only made a couple but one sold on the first fair they went out at.

You still with me? There's more:

Country Kitchen Print Tissue Box Cover (and tissues)

Olive and Black Tissue Box Cover (also with tissues!)

These are something I have been wanting to make for quite some time and get asked for the most, I had just never tackled them - until recently. They actually took me a long time (and multiple efforts) to make them to fit and each have ribbons underneath to tie around the base of the box.

And finally...

Upcycled and Vintage Beige Shpping Bag

This is one of my favorites that I have earmarked for me - I have said that if it has not sold by Christmas, I am keeping it myself! The material is a hesian/calico/muslin type (found at a market), the handle is an old leather belt, the doily is from a vintage shop in Bakewell that I have decorated with vintage beads and the metal findings came from an old leather rucksack that had seen better days. I made it with a cream lining and a hanging internal pocket that fits a mobile phone or cards/money, the belt adjusts to any length you like and it has a magnetic snap to close. I LOVE this, if I do say so myself...

You will find these items in the Etsy Store soon or if not, pop along to a fair I will be exhibiting at. I promise to try and keep my Facebook page up to date for these...

Thanks for reading, leave me a comment if you wish :)

Julie.

(C) FMN Crafts 2014


Friday, 16 May 2014

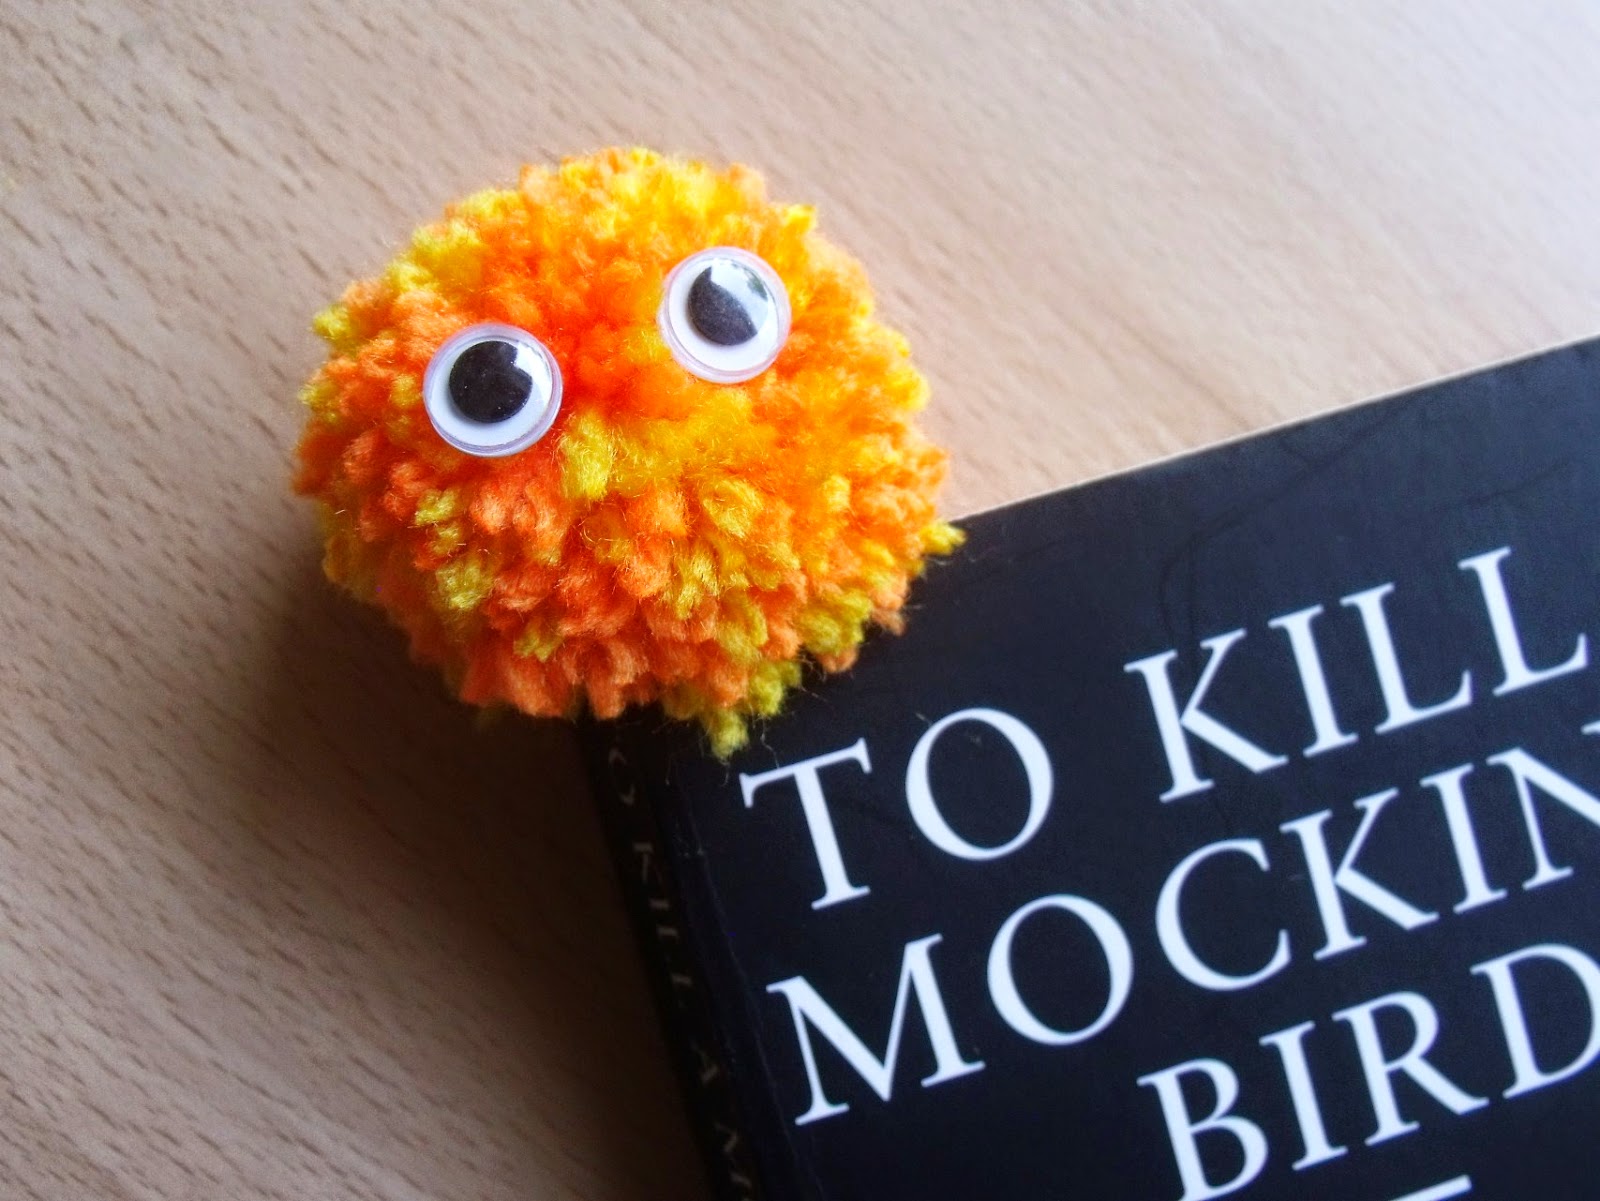
Pom-Pom Bookmarks

Evening all, hope you've had a good week and ready for a sunny (in the UK) weekend! Wahoo!

I just wanted to share these little beauties with you that I made today:


Are they cute or what? I saw the idea somewhere on the internet recently, so I can't claim them as totally my own, however I made them a different size and I added the eyes and the beads, so I guess it's my interpretation of...

I love making pom-poms and found a much easier and quicker way to make them, than I did when I was a child, so I was able to make these over the course of one day (in-between life interuptions, you know what I mean?)

And the best part? I will be selling these for just 99p each! They're great little pocket-money lines for the craft fairs.


How do you like this little lady? I've named her Pony-Pom; I think you'll guess why...

Let me know what you think!

Thanks for reading,
Julie. :)

(c) FMN Crafts 2014